Showing posts with label Birthday. Show all posts

Thursday, March 15, 2012

Train Cake


I can't believe I made my boys 2nd birthday cake.  Not the fact that I made it... the fact that it's their 2ND ONE!!  It's not suppose to go this fast is it ;) ... yeah, yeah I know the answer to that already. 

I normally take pictures during the entire process of the cake building but this time was different.  This cake was for my boys party so I already had the house decorated and half set up.  I didn't have very much space to put cake supplies and cake to take pictures.  So instead of taking pictures during the entire thing I only took finished product.  Oh and when I thought about taking pictures I decided not to because I thought the cake looked HORRIBLE... then it was finished and if I do say so myself think it was out of this world! 

Disclaimer... This is NOT an original idea.  I searched online for train cake pictures.  When I make cakes I normally get an idea from the client (invitation, decorations, ideas, etc.) and then search for other peoples creations.  After seeing a few I take (what I think are) the best parts from each and incorporate them into mine.  However, when I was searching for train cakes I came across this one and right away knew that I wanted to duplicate it!


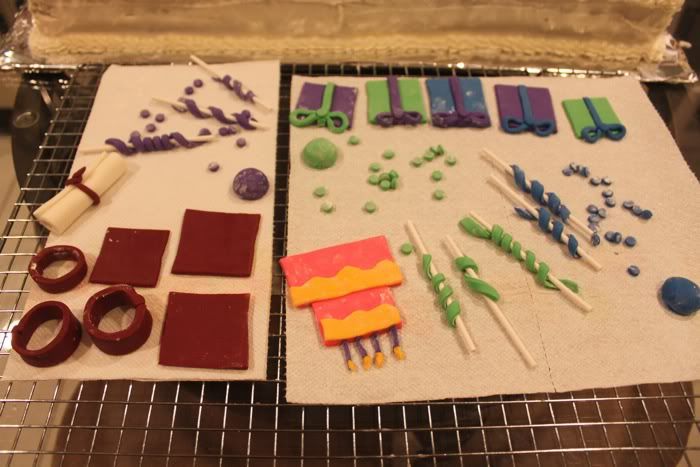
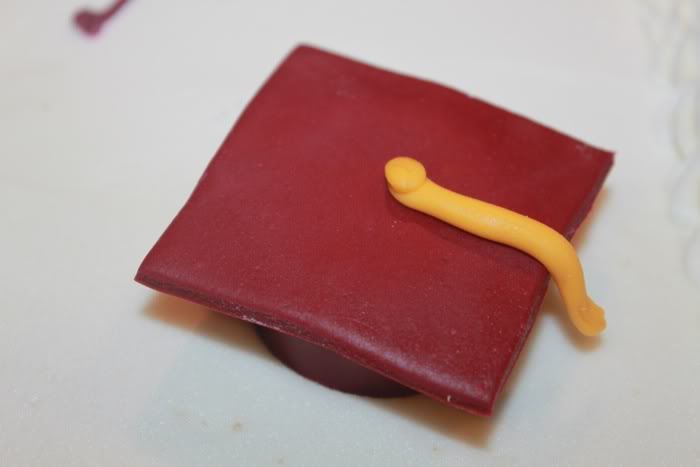
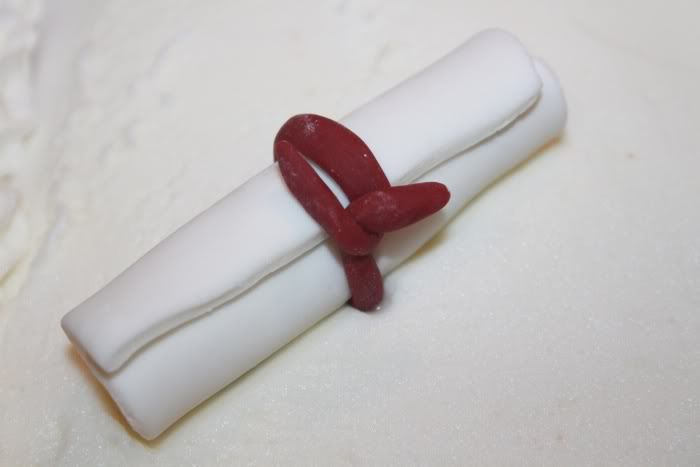
These are the little accessories to the cake.  I LOVED how there were 2 engines.  How perfect was that.  One engine for M and one for G!


Normally when I make figurines I do it completely out of fondant or gum paste.  This time I decided to do the figures out of Rice Krispie Treats and then just cover them in fondant.  I didn't want to wait long for the block of fondant to dry and stiffen so I thought I would squish some treats to form cars.  It was SO easy!


The cake is made out of 2 10 inch rounds and 2 8 inch rounds.  I cut a hill (or spiral) down the cake to form the train track.


I piped brown buttercream to make the spiral look like a track.


I piped green grass around the edge of the track and edge of the bottom of each cake.  Then I piped some trees and made some fondant clouds.


I love the steam coming out of the train.

I definitely think there is an easier way to carve a spiral.  I think next time I ever have to make a spiral cake I will 'waste' more cake.  I don't love the seam of the two different sizes.  If I use larger circles I think I can avoid some of the dislikes I have.


Here's the cake the day of the party with it's candles all ready to be lit to sing to M and G.


G (left) and M (right) blowing out their 2 candles.  M actually blew out BOTH of his candles on his own.  G was blowing perfectly but the air was angled the wrong way so Mommy helped a little bit (I don't think he realized... I hope not anyway because they were having SO much fun blowing out the candles).

Train Cookies


I decided that I would take step by step pictures of the cookies I made for the boys birthday party.  I quickly changed my mind.  

I started off doing 'ok' but adding that one more step of taking pictures just made the task almost unbearable haha.  I was in the zone and didn't want to be bothered (or completely forgot) to take pictures.  


The them of the party was trains so of course I made train cookies.  I started with outlining the main color of the train.


and then I stopped taking pictures.  Oops.  I know, it didn't last long.  I do have some random ones so I will leave them for you. 


After piping the outline of the cookie I filled the cookie with the red.  Then I moved on to the other colors on the train.  Most of the cookies were train engines.  I had 3 'special' trains.  I did 3 large engines,  3 passenger cars (pictured above), and 3 coal cars (2 pictures below).


I also made 2 different signs.

The white and black railroad crossing sign (above) and the yellow RR circle sign (never took a picture).

This is where I stopped taking pictures all together.  I didn't even get a good picture of all the cookies on the cookie tray.  OOPS!


This is the best shot I got, but instead of seeing the cookies you see the label.


I remembered that I didn't take a picture of the cookies and I was able to click one real quick before too many were taken.  Sadly this picture is missing the large engine.

Of course I had to get pictures of the birthday boys eating their train cookies.


 G

Most of the kids that ate the cookies did a great job.  Mine on the other hand LOVE to eat all the icing off before actually biting the cookie.  Their cookie beards grew as they were enjoying their cookie.  

After taking the pictures off of my memory card I realized I never got a picture of the cookies so I grabbed the few that were left and threw them on a plate so you could get an idea of what they looked like.  


There were some really nice looking ones.  Of course I don't have pictures of those because they were the first tray I set out.  When they were eaten I started to replace them with the lesser ones.

I read that sometimes red, black, brown, and orange icing doesn't dry well.  I was so excited that I figured out how thin the icing should be the last time I made cookies.  I thought these would come out perfectly since my filling icing came out so great last time.  Again, some did... but others stayed tacky looking.  They look like they didn't completely dry (they were).  O'well, most of them were eaten anyway :)


Friday, February 17, 2012

Birthday Cake for Husband

My husbands birthday was February 2nd.  Every year I make him some sort of cake that has chocolate and peanut butter.  I use to make him a cheese cake for his birthday but in one of our old apartments our oven was so horrible that I could never get it right.  So I moved onto the chocolate and peanut butter.  This year I decided to add the cheese cake back into that list.

I made him a cheese cake filled chocolate cake with peanut butter cream cheese icing topped with chocolate shavings.    


This was my favorite chocolate cake recipe I have ever made.  Every year I try different recipes for his birthday.  This one called for a cup of fresh brewed coffee.  I don't like coffee or chocolate cake for that matter.  OH but this chocolate cake!  YUM!  I think it will be my staple chocolate cake for now on.  Or at least for a little while :)

Tuesday, August 9, 2011

3 in 1 Celebration

This cake was for a 3 in 1 celebration. This was a High School graduation, 45th birthday, and a 40th Wedding anniversary.

I filled the cake with yummy fresh strawberries.

I made a bunch of different fondant items to decorate the cake with.

Graduation cap and diploma.


Cake and presents.

Buttercream icing roses.

Luau 1st Birthday

My girlfriend was having a Luau birthday party for her 1 year old. I offered to bring some cookies.

I LOVE how the flowers came out! I'm not loving the flip flops so much. They came out cute but I had a different idea in mind. Unfortunately I started them really late and didn't have time to do more than 2 steps. In my mind I had a 3/4 step cookie.


Initial 1st Birthday

When my babes turned 1 I had the hardest time thinking of a party theme. I wanted to do something that was THEM and easy. I knew working full time, taking care of them, and doing all the party stuff I wanted to do that I couldn't go too crazy.

I came up with an initial themed party. Seeing as I call them M & G when I am talking or writing about them I thought it would be perfect.

These cakes were the smash cakes for their actual birthday. I am a big fan of babes eating healthy. I nursed until they were 15 months. I didn't start baby food until they were 5/6 months and didn't start giving them whole milk until after 12 months. Honestly I think it's just the fact that I don't want them to grow up, but I pretend it's because I want to give them only healthy food. All of their cookies, pancakes, goldfish are/were made with wholewheat flour and completely home made. I never took any pictures of their cookies or treats and realized that I really should! Anyway to get back on track, since I didn't want them to have any sugar I made an applesauce cake with a sugar free icing.


They seemed to love it but it didn't smash quite the way I wanted it to.

Dada's Birthday

My baking fun started when I got married. For a shower gift I received a 'heavenly chocolate cake' cookbook. I wasn't so thrilled about this gift. I never cooked/baked before. YES I know!! That's absurd. Not only had I not spent much time in the kitchen but I don't like chocolate so why would I want this book. Then I thought about the reason why I was getting presents. I was getting married... and guess what, soon to be Hubs LOVES chocolate. The book has come in very useful, every year since we have been married I have made him one of those cakes.

Here is one of them. It is a chocolate cake with chocolate frosting. The middle of the cake has cut up mini marshmallows and mini chocolate chips just like the outside. I had made this cake a previous year but it also had peanuts. I don't like peanuts and just Hubs and I were going to be eating this so I didn't put them on this one. I remade this cake because I knew he liked it and I knew it was easy. (I was working full time and taking care of almost 1 year old twins...I thought Hubs wouldn't mind if it was some what of a repeat.)


Grandma's Birthday

I made this cake for my mama's birthday. I had just made a cake for something/someone else and had left over fondant. I thought I would play around with it. I had already colored the fondant for the other cake and I didn't want to use any of those colors so I added more colors to the fondant and came up with this scheme.